
Recipes


At Go Native NZ it's our mission to look after the planet by using sustainable & recyclable packaging

Explore our range of ready made rich creams, face serums & skincare essentials, crafted to transform your selfcare routine!
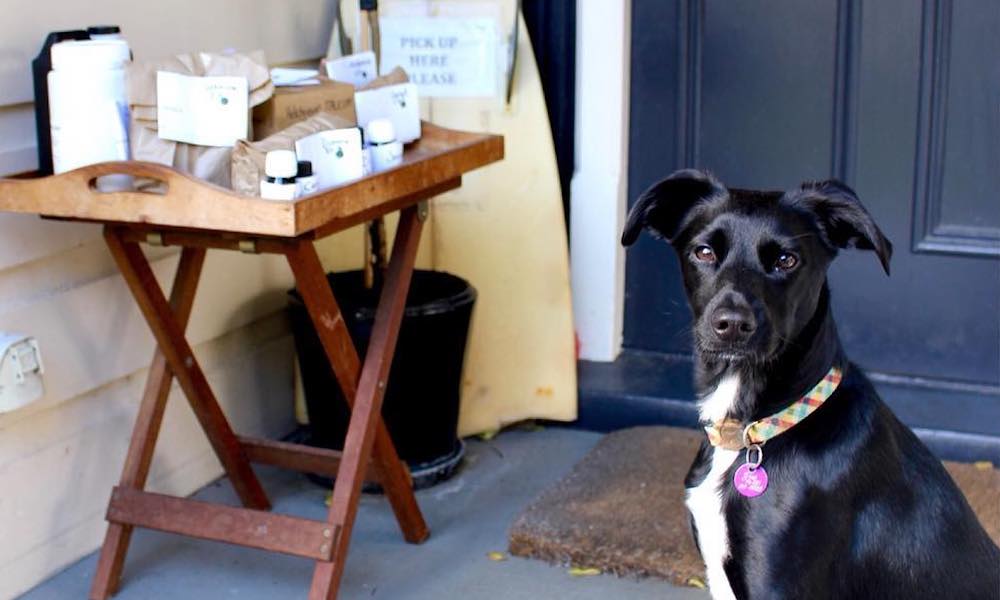
Our Devonport warehouse is available for order pick-ups
Available all hours so you can collect whenever suits you!
