Mineral Foundation
Making Your Own Mineral Foundation
My experience with Marie Rayma’s recipe + videos, tips, and pigment blends
I wanted to share my practical experience making mineral foundation using Marie Rayma’s recipe from her book Make It Up – DIY Makeup. Below are my trials, photos of friends who helped out, and a couple of videos to guide you through making your perfect mineral foundation.
I won’t be publishing Marie’s recipe here (it’s hers, not mine), but I’ll add my thoughts, tips, and lots of helpful visuals from the process. I’ve also included the pigment blend recipes for the foundations we created for each of my beautiful friends.

Getting started without feeling overwhelmed
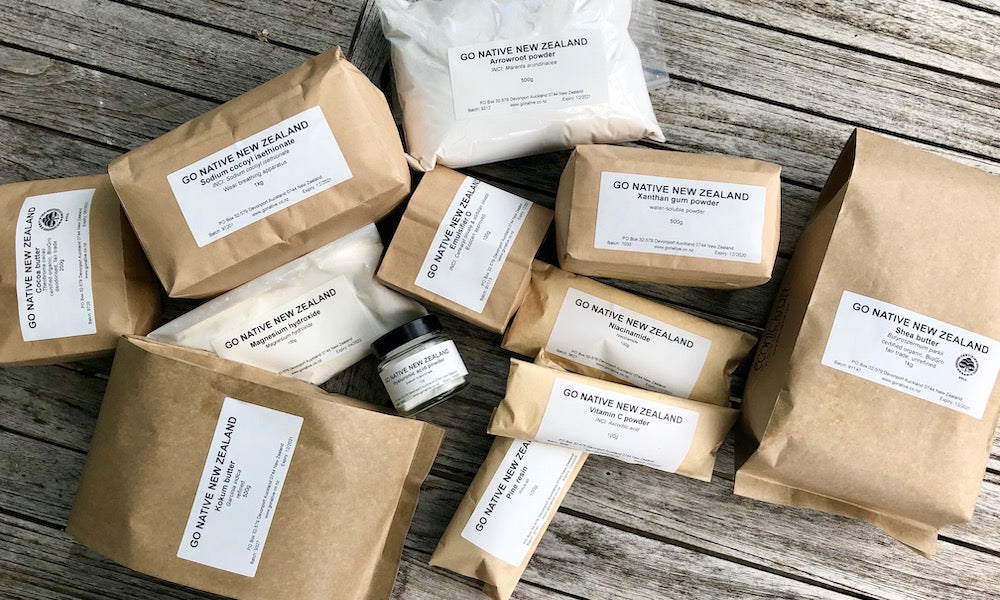
I know mineral makeup can seem a bit full-on at first, so we’ve tried to make things as simple as possible by putting together a Mineral Foundation Kit. It includes:
- Marie’s Make It Up book (with the mineral foundation recipe and so many more)
- All the ingredients you need, with enough volume to experiment
- Glass pots for ingredients (so much easier than ziplock bags!)
- Optional mini measuring spoons
- A dust mask (very important when working with fine powders)
- An empty pot for your finished foundation
- The option to turn your loose foundation into a liquid foundation
You’ll also need a coffee grinder dedicated to makeup. You don’t want foundation dust in your morning flat white. You can find one fairly cheaply at places like Kmart. Choose one with a flat top because you’ll be covering it with baking paper later.
Other useful things: baking paper, paper towels, and honestly, a roll of toilet paper. It makes wiping spoons between ingredients super easy.
And finally, have a note pad or phone handy for precise notes. Recording your pigment ratios is essential if you want to recreate the perfect shade later.
A quick word on cost
The upfront cost can look a bit daunting, but think about how often you spend $50–$100+ on a foundation that only lasts a couple of months—and only matches your skin tone for part of the year. Then consider the empty bottles, plastic compacts, shrink wrap, and boxes that go straight in the bin.
Now imagine never having to repurchase packaged foundations again.
You’ll always know exactly what you’re putting on your skin. Everything is vegan, cruelty-free, and tailor-made for your skin tone. Plus, the satisfaction of saying:
“Oh this? I made it!”
When you look at it that way, it feels more like a one-off investment in yourself, your skin, and the planet.
Let’s play!
How-to Video: Making Mineral Foundation
How-to Video: Finding Your DIY Foundation Tone
Step-by-Step Guide
Measuring your powders
Always level your powders gently with the blunt edge of a knife. Don’t pack them down—you’re measuring by volume, not weight.

Mini spoon conversions:
- Tad = 1/4 tsp
- Dash = 1/8 tsp
- Pinch = 1/16 tsp
- Smidgen = 1/32 tsp
- Drop = 1/64 tsp
Blending your base

Add all your base ingredients to the grinder, then place a piece of baking paper between the grinder bowl and the lid. This keeps the powder contained and stops half your foundation getting stuck to the lid.
Give it a whizz. Tap the edges and lid with your knife to loosen any stuck powder.
Wait a couple of minutes for the dust to settle before opening the lid (and definitely wear your mask).
Stir manually with your knife to lift anything hiding under the blades. Repeat the whizz–tap–wait–stir cycle until everything looks evenly blended.
Adding the liquid ingredients
Add them a few drops at a time. They are very sticky and hard to clean off the base of the grinder if they clump.
My suggestion:
- Add half the drops
- Gently shake the grinder so powder coats them
- Place the baking paper back on
- Whizz
- Let the dust settle
- Repeat with the remaining drops
Hot tip: Count out loud. You will forget what number you’re on. I promise.
Pigment time!
Choose the pigment recipe closest to your skin tone—either from Marie’s book or the ones below.
Always start lighter. It’s easy to add pigment, very hard to correct if you’ve gone too far. And please:
TAKE NOTES.
You won’t remember. I never do.
Add pigments to the grinder, replace the baking paper and lid, and whizz again.
Testing your shade
Dip your makeup brush lightly into the powder and apply it to one side of your face in good natural light.
You’ll almost always need more yellow—just saying!
It’s impossible to judge a colour while it’s in the grinder. You need it on your skin.
A good method:
- Powder one side of your face
- Leave the other bare
- Compare
- Adjust your pigment
- Test again on the other side
- Compare
- Repeat
When washing your face between tests, always moisturise and let your skin settle for a few minutes. Foundation won’t sit nicely on dry or freshly-scrubbed skin.
Finishing (and Pressing)
Your finished powder should fit nicely into a 30ml glass pot. If you want to press your powder into a compact, Marie covers that in her book—but a 50c coin, baking paper, and brute force work surprisingly well.
Pigment Blend Recipes
Here are the custom blends we created for each friend.

Alice
1 base recipe
- 1 tsp titanium dioxide
- 7 smidgens yellow iron oxide
- 5 drops red iron oxide
- 1 pinch brown iron oxide
Lips: Farrah
Ghazaleh
1 base recipe
- 1 tsp titanium dioxide
- 1 tsp + 1 dash yellow iron oxide
- 1 smidgen + 1 drop red iron oxide
- 1 tad + 1 smidgen brown iron oxide
Notes:
This only really worked as a liquid.
Next time I’d leave out the titanium dioxide—it made the blend ashy and was hard to counter.
For darker skin tones, try making the base recipe with yellow iron oxide instead of zinc oxide.
Ava
1 base recipe
- 1 tsp + 1/2 tsp + 1 pinch yellow iron oxide
- 1 dash red iron oxide
- 5 pinches brown iron oxide
- 1 dash magnesium stearate
- 5 drops jojoba oil
Notes:
Ava’s worked best as a liquid.
Lips: Naomi
Tanya
1 base recipe
- 1 tsp titanium dioxide
- 1/2 tsp + 3 pinches yellow iron oxide
- 1 pinch red iron oxide
- 1 dash + 1 smidgen brown iron oxide
Notes:
We added extra sericite mica to lighten the coverage because we didn’t want to hide her freckles.
A touch of silver satin mica added a subtle, fun shimmer.
Lips: Sasha (and cheeks!)

Chelsea
1 base recipe
- 1 tsp titanium dioxide
- 1/2 tsp + 7 smidgens yellow iron oxide
- 1 dash + 3 drops brown iron oxide
- 1 smidgen + 1 drop red iron oxide
Final thoughts
Thank you so much for reading. I hope this gives you more confidence to dive into making your own mineral foundation. Once you’ve worked out your personalised pigment blend, you’ll be able to recreate it in ten minutes whenever you need more.
If you have any questions, feel free to email me at info@gonative.co.nz. I’m still early in my makeup-making journey too—so if I don’t know the answer, I won’t pretend I do! I’ll try to find out and we can keep learning together.



Leave a comment